Blog
9 Top Tips For Taking Photographs Of Pets
There will come a time when the unthinkable happens and you have to say goodbye to your pet. This is a heartbreaking time for all of the family as a pet is a really big part of that family. Recently, I had to say goodbye to my cat Tango. She was such a special cat to not only me but my also my children. Her quirky personality, incredibly loud miaow (she was deaf) sweet nature has left a very big hole in our lives. I began searching through all of my photos, as I really wanted to find some special ones that I could print off for the children to see and also because I would love to draw a picture of her.
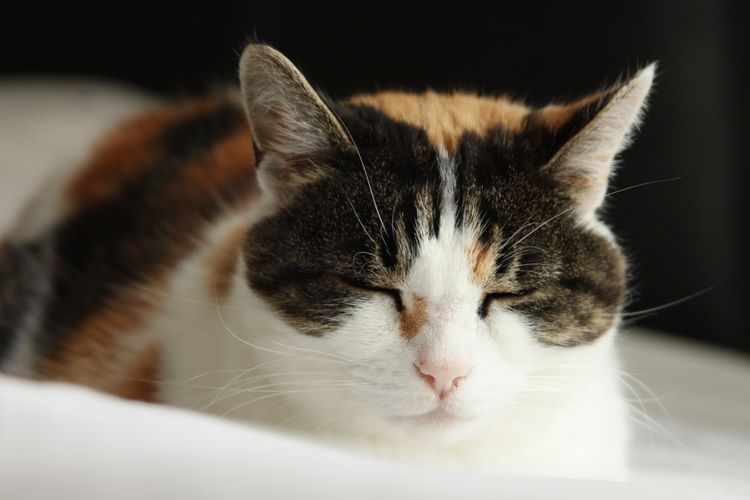
It really got me thinking, that I have lots of quick snap shots on my phone, but very few special pictures. I also find this quite often with commissions, that people don’t have great photos to work from and of course it can be too late to take any more. So I wanted to write some top tips to help you take some great photos of your pets, whether just to print off or one day you might like to commission someone to do a piece of artwork for you, or even have a go at drawing them yourself!
1. Be ready!
Now this might sound obvious, but your pet might not necessarily wait around long to have their picture taken! It is no good getting them in position only to find that you’ve not got your phone set up, or your camera turned on, or worse still the batteries are flat!
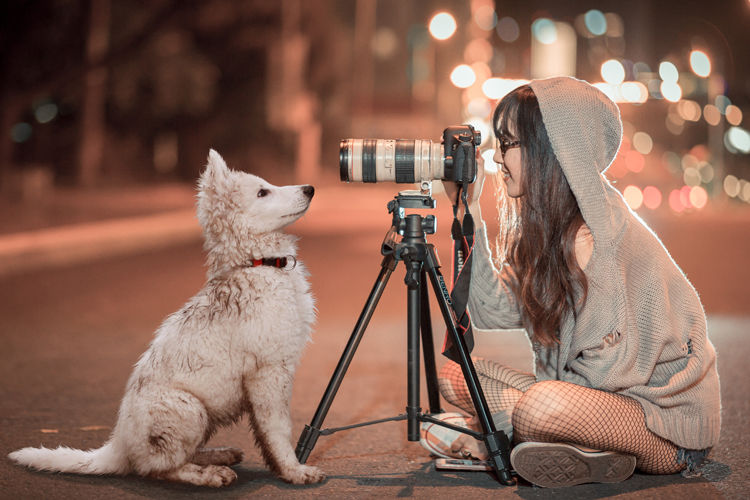
Be prepared that you will probably need to take photos on several different occasions as your pet will likely get bored or they will keep trying to come up to the camera! Set your camera or phone to the highest resolution possible. If you don't know how to do this Google the following: How do I change the resolution on my xx (device name/model).
2. Where to take your photos
You can take your photos wherever you like, and its worth while trying various locations and different times of day. First of all though, choose a view point that suits the character of your pet. For example, you might choose to have your cat sleeping in their favourite spot, sitting on a window ledge or bench watching the world go by, lying on their favourite cushion.
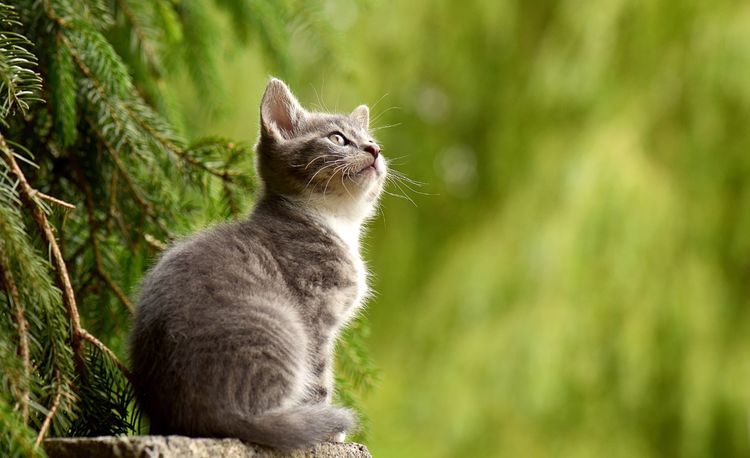
For a dog, you might take a head shot looking slightly off centre from the camera looking off into the distance, or lying down having just woken from a nap, sitting down ready to play with their favourite toy, running in the woods.

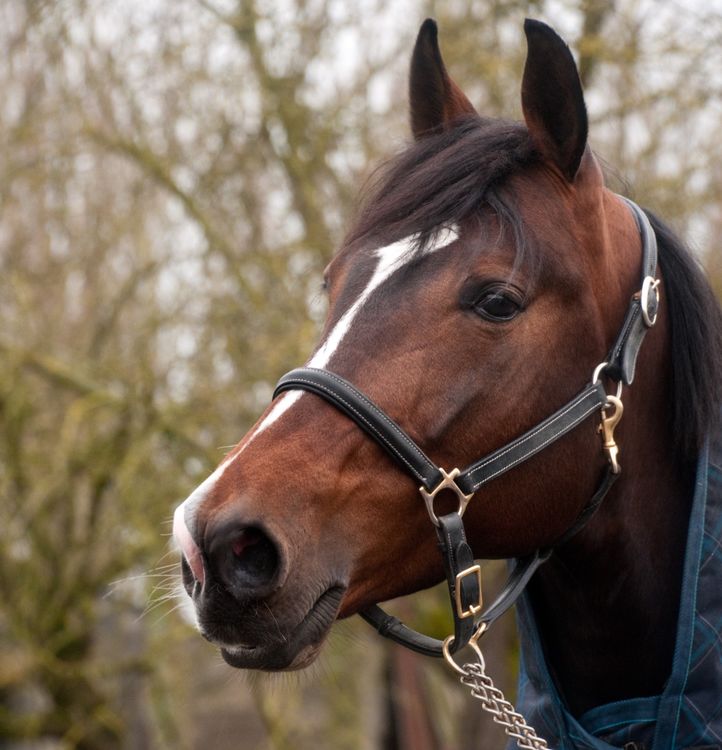
The same applies to any other type of pet, a rabbit in the grass in the garden, a horse at the fence or in the field. You know your pet and where they feel comfortable. The more contented they are, the easier it is to capture them.
3. Lighting
First all I highly recommend that you do not use flash. Direct flash is very unflattering and creates red eye. The best light is natural lighting. If possible outside is a good setting, ideally in some shade rather than very harsh sunlight.
If photographing indoors, make sure that there is good light on your pet. Ideally have them placed by a window or open door.
I would also suggest not using backlighting (the light shining on back of the animals head) as this puts their face in complete shadow and you will loose the detail in their face.
4. Background.
Now this really depends on the purpose of the photographs. If you are taking them with a view to being used to commission an artist or to draw/paint them yourself, then the background really doesn’t matter. An artist can be as creative as they like with backgrounds to suit your pet. If you are taking the photos to display them then I find the most successful backgrounds to be simple out of focus ones that allow your pet to really stand out in the picture. Most cameras on phones these days will blend out background when you are closely focused on an object. If you have a proper camera, then it is worth investigating how to use it to change the settings so you can do this.
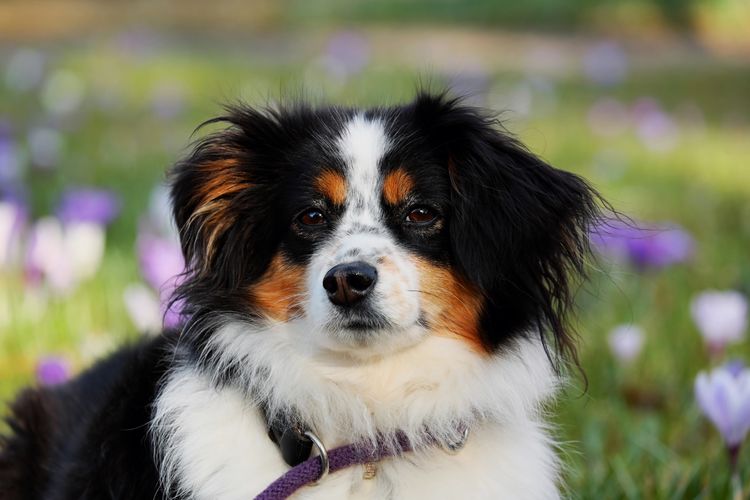
The other alternative with backgrounds, is to think about your favourite locations that your pet goes, whether thats simply the garden, or further afield like the woods, the park or even the beach. Having photographs in these places is a good reminder of them and what they enjoyed doing.

5. Enlist some help
Having someone to assist you with taking photos of your pet might be helpful if you are struggling to get them to stay still! They can help get them in position so you can quickly take some photos or they can wave toys/make noises to get them to look in the direction of the camera or slightly off to one side of you prefer a 3/4 face shot as opposed to straight on. Alternatively, you can be the one working with your pet while someone else takes the photographs. Try photographing a range of different poses while you’ve got someone on hand to assist.

6. Composition
So you’ve got your camera prepared, now it’s time to think about composition. Generally speaking its a good idea to get down to your pets eye level. Photos taken from this angle rather than looking down make for a better portrait and eliminates the element of distortion. If they are at ground level instead of on a sofa or window ledge this will involve you getting down on the floor with your camera.
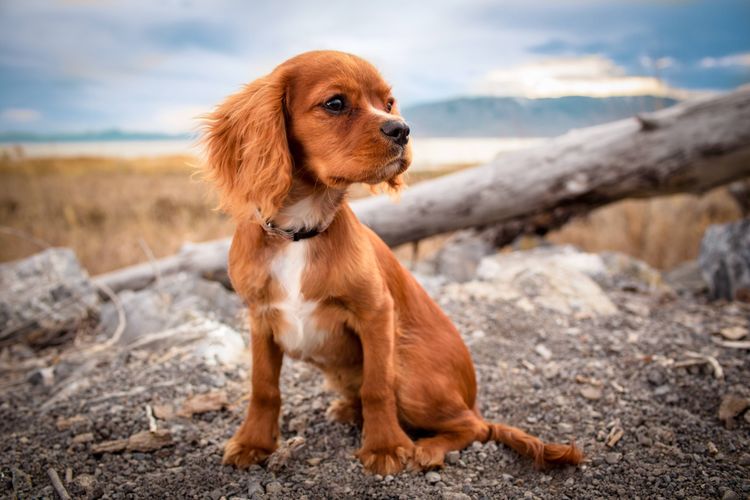
This isn't to say that other angles won't work, sometimes you can get some interesting pictures that portray your pets personality beautifully, but you need to be aware of whether the element of distortion works.
 An example of distortion
You also need to think about whether you want whole body or face. If you are wanting a facial shot then you need to get in closer. Whether you are taking whole body or face, you need to think about the angle they are at compared to your camera. So while you might take some photographs where your pet is face on to the camera, it is also worth considering taking your pets photograph at a three quarter angle so they are looking off in the distance at something else. This is where having someone assist you can be helpful.

7. Fill the Frame
When taking the photos try to fill the frame with your pet. You don’t want your pet to end up as a tiny part of the photo thats difficult to really see them.
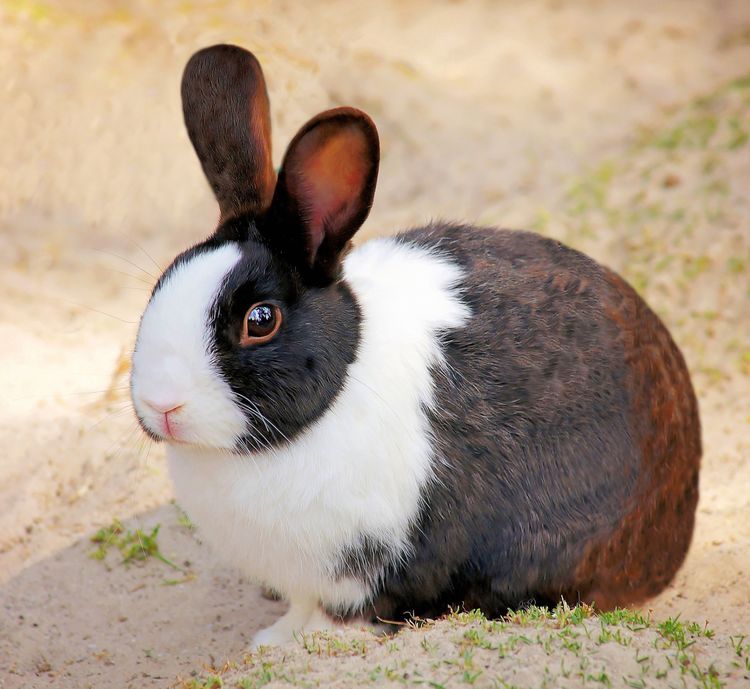
Having some photos of your pet where you can see the details of their face is so important. When they are no longer around being able to see them close up is important to help remember them. Also is you want to draw them or commission someone else to then this will be particularly important to create an accurate drawing. Also remember not to cut off legs, paws ears etc in awkward places.

8. Photographing more than one animal!
If you are trying to take a photograph of two or more pets together, then I won’t lie, this can be challenging! If you are taking the picture to have as a photograph in your house, then I would highly suggest enlisting the help of someone else! If for example you are photographing dogs then having someone for them to focus on so they are both looking in the same direction is very helpful!

If you are taking photographs to draw from or to commission an artist, then there are ways around this. It is possible to work from separate photographs and drawing them in the same picture. It is helpful to have photographs from the same light source and direction so even if you are struggling to get the perfect shot of them together, take the photos in the same location at the same time. It is also useful to have some photographs of them together even if not the perfect shot, so that the person drawing them can compare their size.You never know, you might get lucky and get the perfect picture of your animals together!
9. Take many many many photos!
We are very lucky today with the use of digital photography. It means we can take as many photographs as we want very easily and just delete the ones we don’t want. Taking lots and lots of photos, whether in one sitting or ideally over lots of different occasions gives you much more chance of capturing that perfect photo. Most importantly have fun with this. If you are relaxed then your pet will be.
10. Reward your pet!

Most importantly don't forget to give your pet some much deserved fuss and treats for being the superstar that they are at having their photo taken! Hopefully you will have managed to get some fantastic photos to print off, to draw from or even one day commission an artist to create a fantastic painting for you.
Happy photographing!
Izzy x
*photographs are either my own or from Pixabay

It really got me thinking, that I have lots of quick snap shots on my phone, but very few special pictures. I also find this quite often with commissions, that people don’t have great photos to work from and of course it can be too late to take any more. So I wanted to write some top tips to help you take some great photos of your pets, whether just to print off or one day you might like to commission someone to do a piece of artwork for you, or even have a go at drawing them yourself!
1. Be ready!
Now this might sound obvious, but your pet might not necessarily wait around long to have their picture taken! It is no good getting them in position only to find that you’ve not got your phone set up, or your camera turned on, or worse still the batteries are flat!

Be prepared that you will probably need to take photos on several different occasions as your pet will likely get bored or they will keep trying to come up to the camera! Set your camera or phone to the highest resolution possible. If you don't know how to do this Google the following: How do I change the resolution on my xx (device name/model).
2. Where to take your photos
You can take your photos wherever you like, and its worth while trying various locations and different times of day. First of all though, choose a view point that suits the character of your pet. For example, you might choose to have your cat sleeping in their favourite spot, sitting on a window ledge or bench watching the world go by, lying on their favourite cushion.

For a dog, you might take a head shot looking slightly off centre from the camera looking off into the distance, or lying down having just woken from a nap, sitting down ready to play with their favourite toy, running in the woods.

The same applies to any other type of pet, a rabbit in the grass in the garden, a horse at the fence or in the field. You know your pet and where they feel comfortable. The more contented they are, the easier it is to capture them.
3. Lighting
First all I highly recommend that you do not use flash. Direct flash is very unflattering and creates red eye. The best light is natural lighting. If possible outside is a good setting, ideally in some shade rather than very harsh sunlight.

If photographing indoors, make sure that there is good light on your pet. Ideally have them placed by a window or open door.
I would also suggest not using backlighting (the light shining on back of the animals head) as this puts their face in complete shadow and you will loose the detail in their face.
4. Background.
Now this really depends on the purpose of the photographs. If you are taking them with a view to being used to commission an artist or to draw/paint them yourself, then the background really doesn’t matter. An artist can be as creative as they like with backgrounds to suit your pet. If you are taking the photos to display them then I find the most successful backgrounds to be simple out of focus ones that allow your pet to really stand out in the picture. Most cameras on phones these days will blend out background when you are closely focused on an object. If you have a proper camera, then it is worth investigating how to use it to change the settings so you can do this.

The other alternative with backgrounds, is to think about your favourite locations that your pet goes, whether thats simply the garden, or further afield like the woods, the park or even the beach. Having photographs in these places is a good reminder of them and what they enjoyed doing.

5. Enlist some help
Having someone to assist you with taking photos of your pet might be helpful if you are struggling to get them to stay still! They can help get them in position so you can quickly take some photos or they can wave toys/make noises to get them to look in the direction of the camera or slightly off to one side of you prefer a 3/4 face shot as opposed to straight on. Alternatively, you can be the one working with your pet while someone else takes the photographs. Try photographing a range of different poses while you’ve got someone on hand to assist.

6. Composition
So you’ve got your camera prepared, now it’s time to think about composition. Generally speaking its a good idea to get down to your pets eye level. Photos taken from this angle rather than looking down make for a better portrait and eliminates the element of distortion. If they are at ground level instead of on a sofa or window ledge this will involve you getting down on the floor with your camera.

This isn't to say that other angles won't work, sometimes you can get some interesting pictures that portray your pets personality beautifully, but you need to be aware of whether the element of distortion works.

You also need to think about whether you want whole body or face. If you are wanting a facial shot then you need to get in closer. Whether you are taking whole body or face, you need to think about the angle they are at compared to your camera. So while you might take some photographs where your pet is face on to the camera, it is also worth considering taking your pets photograph at a three quarter angle so they are looking off in the distance at something else. This is where having someone assist you can be helpful.

7. Fill the Frame
When taking the photos try to fill the frame with your pet. You don’t want your pet to end up as a tiny part of the photo thats difficult to really see them.

Having some photos of your pet where you can see the details of their face is so important. When they are no longer around being able to see them close up is important to help remember them. Also is you want to draw them or commission someone else to then this will be particularly important to create an accurate drawing. Also remember not to cut off legs, paws ears etc in awkward places.

8. Photographing more than one animal!
If you are trying to take a photograph of two or more pets together, then I won’t lie, this can be challenging! If you are taking the picture to have as a photograph in your house, then I would highly suggest enlisting the help of someone else! If for example you are photographing dogs then having someone for them to focus on so they are both looking in the same direction is very helpful!

If you are taking photographs to draw from or to commission an artist, then there are ways around this. It is possible to work from separate photographs and drawing them in the same picture. It is helpful to have photographs from the same light source and direction so even if you are struggling to get the perfect shot of them together, take the photos in the same location at the same time. It is also useful to have some photographs of them together even if not the perfect shot, so that the person drawing them can compare their size.You never know, you might get lucky and get the perfect picture of your animals together!
9. Take many many many photos!
We are very lucky today with the use of digital photography. It means we can take as many photographs as we want very easily and just delete the ones we don’t want. Taking lots and lots of photos, whether in one sitting or ideally over lots of different occasions gives you much more chance of capturing that perfect photo. Most importantly have fun with this. If you are relaxed then your pet will be.
10. Reward your pet!

Most importantly don't forget to give your pet some much deserved fuss and treats for being the superstar that they are at having their photo taken! Hopefully you will have managed to get some fantastic photos to print off, to draw from or even one day commission an artist to create a fantastic painting for you.
Happy photographing!
Izzy x
*photographs are either my own or from Pixabay
Comments (click to expand)